Upgrading to a luxury bathroom cabinet isn’t just about storage, it’s about transforming a functional space into something refined and deliberate. High-end cabinetry sets the tone for the entire bathroom, blending craftsmanship, materials, and thoughtful design in ways that budget options simply can’t match. Whether you’re planning a full remodel or replacing a worn-out vanity, understanding what separates luxury from standard helps you make smarter choices and get real value from the investment. This guide walks through materials, styles, sizing, installation, and upkeep so you can approach the project with confidence.
Table of Contents
ToggleKey Takeaways
- A luxury bathroom cabinet combines premium hardwoods, dovetail joinery, and moisture-resistant finishes that resist warping and water damage far better than budget alternatives.
- Soft-close drawer systems, integrated LED lighting, pull-out organizers, and adjustable interior dividers distinguish high-end cabinets and improve daily functionality and longevity.
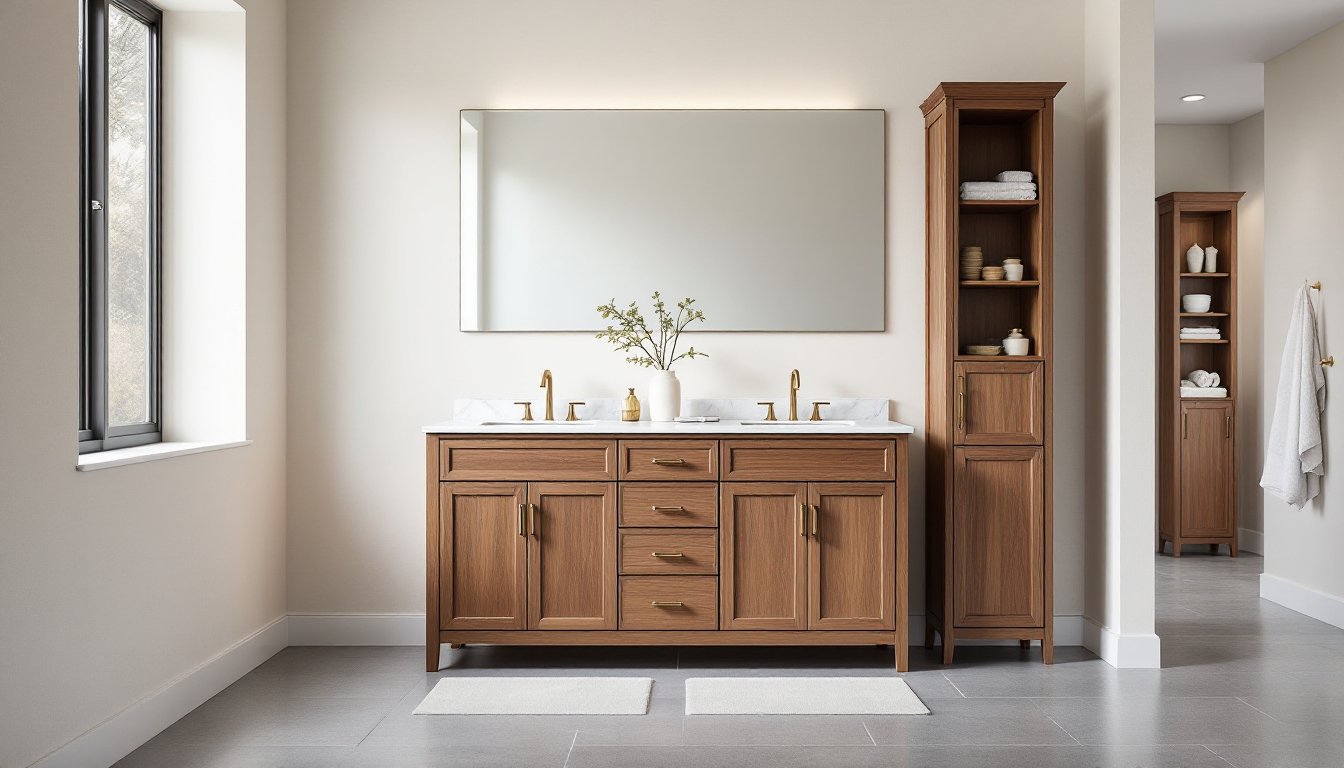
- Floating vanities and natural wood finishes dominate 2026 design trends, with two-tone configurations and matte finishes creating a refined, furniture-like aesthetic in modern bathrooms.
- Proper wall mounting requires solid blocking between studs and professional installation, while professional plumbing and countertop work ensures a luxury bathroom cabinet performs flawlessly without costly mistakes.
- Daily care using pH-neutral cleaners, moisture control with exhaust fans, and annual hardware inspections keep luxury cabinetry beautiful and prevent water damage that compromises finishes and structure.
What Defines a Luxury Bathroom Cabinet?
Luxury bathroom cabinets stand apart through materials, joinery, finish quality, and hardware. You won’t find particleboard cores or stapled joints here. Instead, expect solid hardwoods (walnut, oak, maple), furniture-grade plywood, or high-end engineered materials that resist moisture without warping.
Premium Materials and Construction
Solid wood frames and doors remain the gold standard. Hardwoods like walnut, white oak, and cherry bring rich grain patterns and durability, though they require proper sealing against bathroom humidity. For painted finishes, maple offers a smooth, tight grain that takes lacquer beautifully.
Dovetail and mortise-and-tenon joinery signal serious construction. Drawer boxes built with full-extension soft-close slides rated for 100+ pounds last decades longer than side-mount alternatives. Cabinet boxes should be at least 3/4-inch plywood, anything thinner sags under the weight of countertops and daily use.
Finishes matter as much as structure. Luxury cabinets use conversion varnish, catalyzed lacquer, or UV-cured finishes that create a hard, moisture-resistant shell. These aren’t rattle-can jobs: they’re sprayed in controlled environments and cured properly. The result resists water spotting, yellowing, and the wear that makes budget cabinets look tired after a few years.
Hardware is another tell. Luxury cabinets come with solid brass, stainless steel, or hand-forged iron pulls and knobs, not zinc alloy that tarnishes or snaps. Hinges should be European-style soft-close with adjustability in three planes, that’s how installers dial in perfect alignment.
Top Styles and Design Trends for Luxury Bathroom Cabinets
Design trends in 2026 lean toward clean lines, natural materials, and mixed finishes. The all-white bathroom is giving way to warmer palettes and textural contrast.
Floating vanities continue to dominate. Wall-mounted cabinets create visual breathing room in smaller bathrooms and simplify floor cleaning. They require proper blocking behind drywall, typically doubled-up 2×6 or 2×8 framing anchored to studs, to handle the cantilevered load.
Natural wood finishes are back, especially oiled walnut and white oak with clear or limed finishes. These pair well with stone or concrete countertops and bring warmth that painted cabinets can’t match. For those exploring bathroom remodel ideas, mixing wood tones with matte black or brushed brass fixtures creates a modern yet grounded look.
Shaker-style doors remain timeless, but luxury versions feature mitered joints (not coped) and inset construction where doors sit flush with the face frame. This requires tighter tolerances and better craftsmanship than overlay styles.
Two-tone finishes, dark lowers with light uppers, or a contrasting island-style vanity, add depth without overcomplicating the space. Textured fronts (fluted panels, reeded glass, cane inserts) provide visual interest while maintaining a sophisticated edge.
Open shelving or glass-front cabinets work in luxury settings when contents are curated. This isn’t the place for half-empty shampoo bottles, think neatly folded linens, apothecary jars, or decorative objects.
Matte and low-sheen finishes have largely replaced high-gloss lacquer. They hide fingerprints better and feel more refined in contemporary and transitional spaces.
Choosing the Right Size and Configuration for Your Bathroom
Size and layout drive function. A luxury cabinet that blocks the door or crowds the toilet isn’t luxury, it’s poor planning.
Standard vanity height is 32 to 36 inches, but luxury installs often go taller, 36 to 42 inches, for a furniture-like feel and easier use by taller users. If multiple people share the space, consider a double vanity spanning 60 to 84 inches with separate sink zones.
Depth typically runs 21 to 24 inches, though wall-mounted units can go shallower (18 inches) if space is tight. Make sure there’s at least 30 inches of clearance in front of the vanity for comfortable movement.
For narrow bathrooms, a single-sink vanity (30 to 48 inches wide) with vertical storage, tall linen towers or medicine cabinets, maximizes function without crowding. Corner vanities work in awkward layouts but limit countertop workspace.
Drawer configuration beats door-and-shelf combos for usability. Full-height drawer stacks let you organize without digging, and cutouts around plumbing keep every inch accessible. Top drawers should be shallow (4 to 6 inches) for small items: lower drawers can go 8 to 12 inches deep.
If you’re working with an existing footprint, measure stud locations, plumbing rough-in, and electrical outlets before ordering. Luxury cabinets are often made to order, so mistakes are expensive to fix. Code requires GFCI outlets within 3 feet of a sink, and those need to land where they’re accessible but not awkwardly placed.
Think vertically, too. Wall cabinets, open shelves, or tall storage flanking the vanity add capacity without eating floor space. Keep frequently used items between hip and eye level.
Essential Features That Set Luxury Cabinets Apart
Luxury cabinets earn their price through features that improve daily use and longevity.
Soft-close drawers and doors are baseline. Quality systems use hydraulic dampers, not cheap plastic clips. They extend hardware life and eliminate the cabinet-slamming that loosens joints over time.
Adjustable interior dividers keep drawers organized. Look for peg-based systems or felt-lined trays that can be reconfigured as needs change. Electrical outlets inside drawers are increasingly common for charging toothbrushes and razors without countertop clutter.
Integrated lighting, LED strips under wall cabinets or inside drawers, adds function and ambiance. Many systems are low-voltage (12V) and can tie into a wall switch or motion sensor.
Pull-out hampers, tilt-out trays, and built-in step stools (for kids’ bathrooms) make smart use of space. High-end vanities sometimes include pull-out hair tool organizers with heat-resistant mats.
Ventilated compartments help prevent mildew in damp storage areas. Some luxury makers include dehumidifying drawer liners or small fans vented to the toe kick.
Many luxury design ideas now incorporate toe-kick drawers, slim, hidden storage in the 4-inch base recess. They’re perfect for bath mats or cleaning supplies.
Undermount sinks integrate seamlessly with stone or solid-surface countertops, and luxury cabinets are built to support the weight without additional framing. Furniture-style legs or decorative plinths replace plain toe kicks, adding a custom furniture look.
Don’t overlook ventilation. Bathrooms generate moisture, and cabinets need airflow. Some high-end vanities feature louvered backs or small vents near the toe kick to prevent trapped humidity.
Installation Considerations: DIY vs. Professional
Installing a luxury bathroom cabinet isn’t the same as swapping a stock vanity. Precision, plumbing knowledge, and sometimes structural work are required.
Wall-mounted vanities demand solid blocking. If your bathroom was built without it, you’ll need to open the wall, sister in blocking between studs, and patch drywall. This isn’t a beginner move. The cabinet must be level in two planes and anchored with lag bolts into solid wood, not drywall anchors.
Plumbing modifications are common. Luxury cabinets often relocate drain and supply lines. If you’re comfortable sweating copper, using PEX, or working with ABS/PVC drain fittings, you can handle it, but most jurisdictions require a licensed plumber for any work behind the wall or involving the main drain stack. Permits may be required depending on scope.
Countertop installation is usually separate. Stone slabs (granite, marble, quartzite) need professional templating, cutting, and sealing. Solid-surface or quartz countertops are also best left to pros, they’re heavy, require specialized tools, and mistakes are costly.
If you’re installing a freestanding or floor-mounted vanity, the process is more DIY-friendly. You’ll still need to:
- Shut off water and disconnect supply lines and drain trap.
- Remove the old vanity, checking for water damage or mold.
- Level the floor if needed: luxury cabinets show every imperfection.
- Install the cabinet, shimming as needed and securing to wall studs.
- Reconnect plumbing, using new supply lines and a fresh P-trap.
- Seal where the cabinet meets the wall and floor with a paintable caulk.
Electrical work, adding outlets, especially GFCI-protected ones, requires knowledge of NEC (National Electrical Code) standards. If you’re not comfortable working in a live panel or fishing wire through walls, hire a licensed electrician.
Tool requirements include a drill/driver, level (4-foot recommended), stud finder, adjustable wrench, basin wrench, hacksaw or tubing cutter, and caulk gun. A laser level makes wall-mounted installs much easier.
Professional installation typically costs $300 to $1,200, depending on complexity. It’s worth it if the cabinet cost four figures, you don’t want installation errors voiding warranties or damaging expensive materials.
Maintaining Your Luxury Bathroom Cabinet for Lasting Beauty
Proper maintenance extends the life and appearance of luxury cabinetry. Bathrooms are tough environments, heat, humidity, and water exposure take their toll.
Daily care is simple: wipe down surfaces with a soft microfiber cloth dampened with water or a pH-neutral cleaner. Avoid ammonia-based or abrasive cleaners, they dull finishes and strip protective coatings. For natural wood finishes, use cleaners specifically formulated for oiled or waxed wood.
Control moisture. Run the exhaust fan during showers and for 20 minutes afterward. If your bathroom lacks a fan or window, consider adding one, it’s required by code (IRC M1507) in most jurisdictions for new construction and often a smart retrofit. Persistent humidity causes finish failure, swelling, and mold.
Inspect and tighten hardware every six months. Hinges and drawer slides loosen over time. European hinges have adjustment screws for fine-tuning alignment, learn how to use them. Tighten pulls and knobs by hand: power tools can strip threads.
Clean soft-close mechanisms annually. Dust and grime slow dampers. Wipe slides and hinges with a dry cloth, then apply a tiny amount of silicone-based lubricant (not WD-40, which attracts dirt).
For those following bathroom storage and design guides, treating wood surfaces with furniture wax or conditioning oil once or twice a year keeps finishes supple. This is especially important for natural wood or hand-rubbed finishes.
Address water damage immediately. If a sink or faucet leaks, dry the cabinet interior and fix the source. Standing water causes swelling, delamination, and finish bubbling. If wood swells, let it dry completely before sanding and refinishing.
Avoid hanging wet towels on cabinet doors or over open drawers, it traps moisture inside. Use towel bars mounted to the wall instead.
Re-seal stone countertops per the manufacturer’s schedule, typically every 1 to 3 years depending on stone type and sealer used. Water beading is a good indicator: if it stops, it’s time to reseal.
Luxury cabinets are built to last decades, but only if they’re treated well. A little routine care beats an expensive refinish or replacement.